

VMware Workstation Player是一套免费的虚拟机器(Virtual Machine)软体,它是VMware Workstation(付费版本)的精简版,安装VMware Workstation Player之后,可以在你的电脑新增多部的虚拟机器(或称「虚拟电脑」),在虚拟机器中可以安装不同的作业系统,例如:Windows、Linux、Solaris、NetWare、BSD等;当然,也可以安装任何的软体,就好像在使用实体电脑一样。
VMware Workstation Player很适合用来练习硬碟的分割与调整、作业系统和软体的安装与测试、挂载和执行光碟映像档,不管你在虚拟电脑做任何的测试,完全不会影响电脑的正常运作。本文说明在Ubuntu 20.04安装VMware Workstation Player虚拟机器的方法:
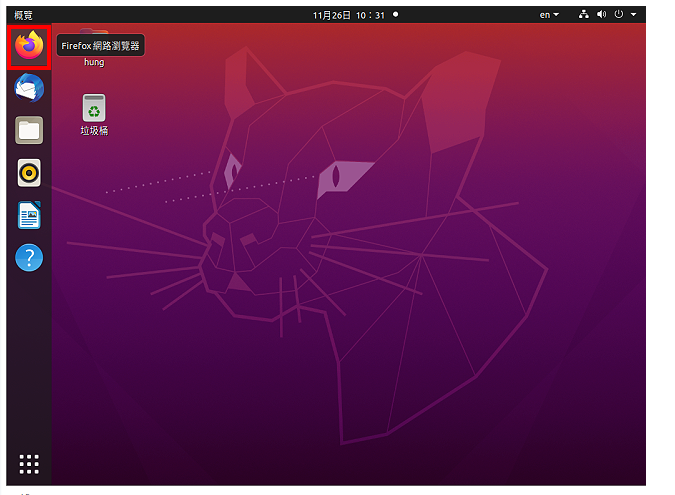
1.开启Ubuntu以后,点选「Firefox」。
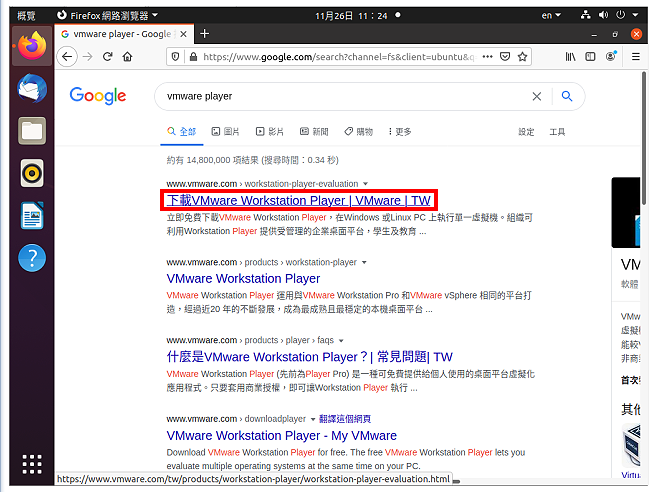
2.搜寻vmware player,点选「下载VMware Workstation Player | VMware | TW」。
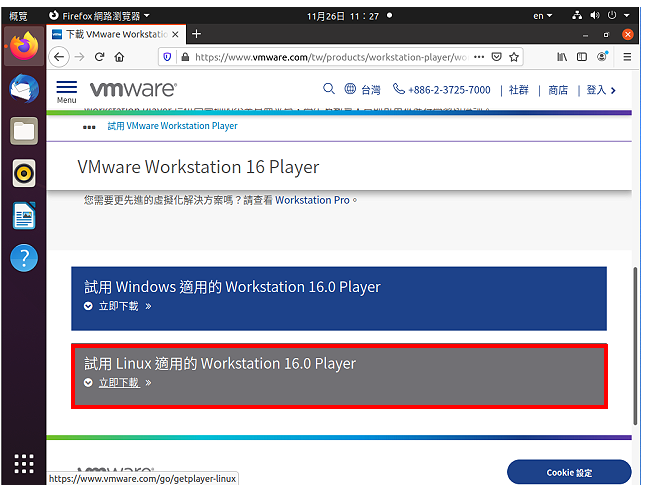
3.点选「试用Linux适用的Workstation 16.0 Player」。
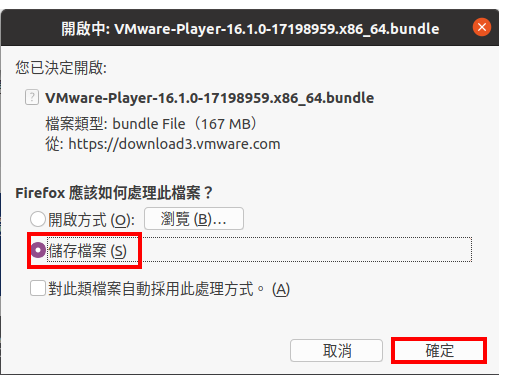
4.选择「储存档案」,点选「确定」。
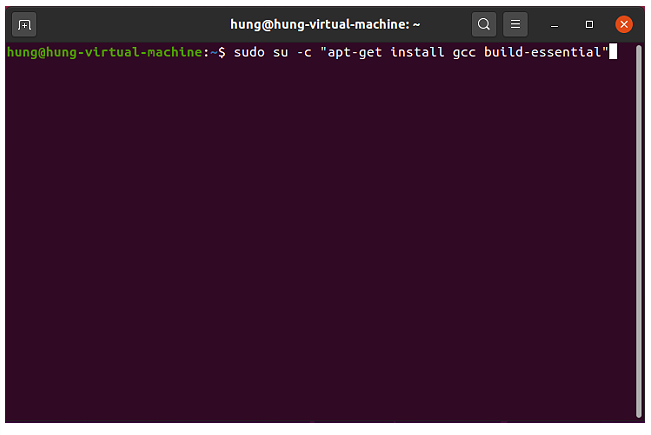
5.下载完成以后,按键盘的快速键「Ctrl+Alt+T」,开启终端机,如下图所示。

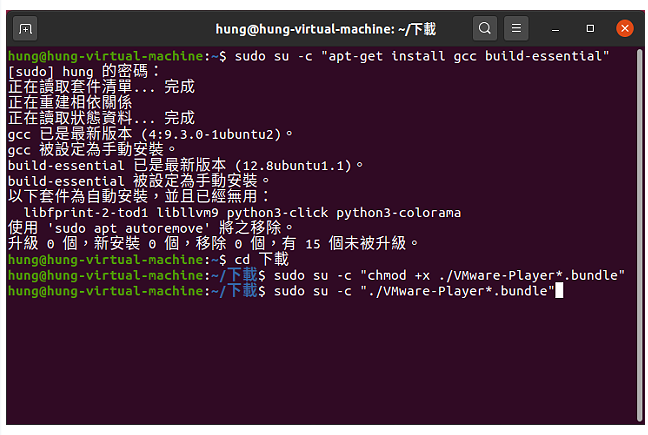
6.输入「sudo su -c “apt-get install gcc build-essential”」,按键盘的「Enter」键,安装需要的额外程式。
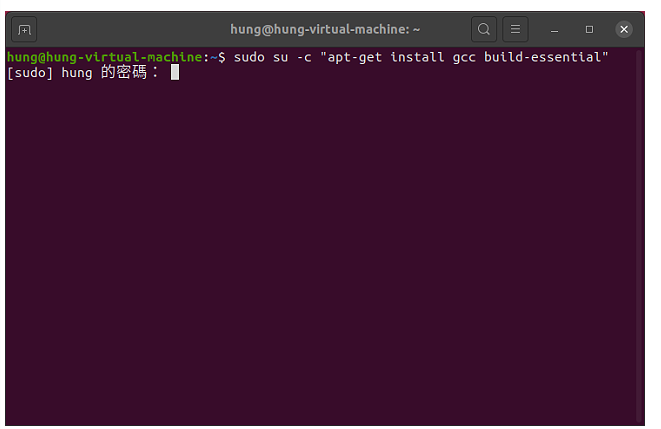
7.输入密码,按键盘的「Enter」键。
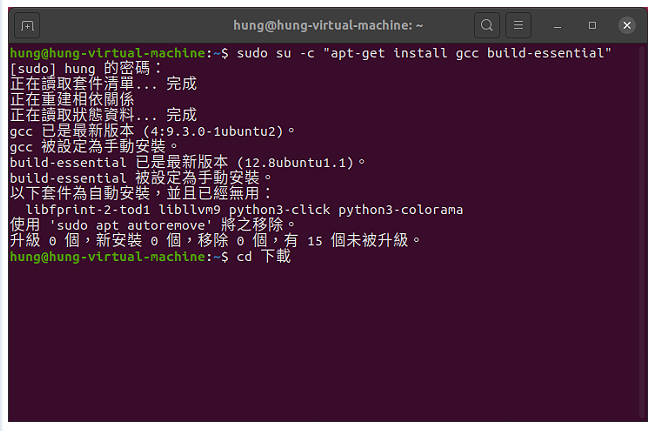
8.build-essential已经是最新版本;接著输入「cd 下载」,按键盘的「Enter」键,切换到档案下载的目录。
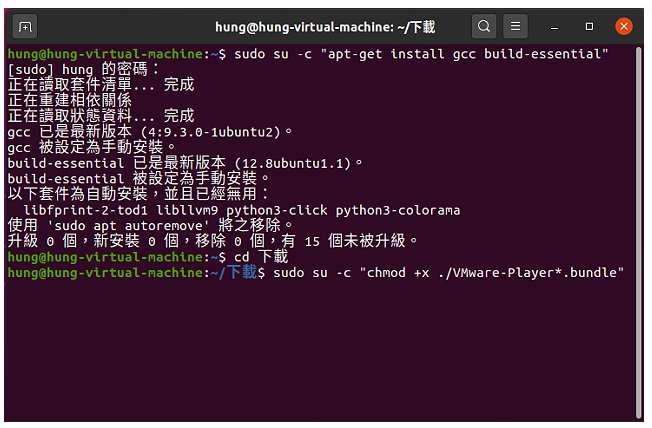
9.输入「sudo su -c “chmod +x ./VMware-Player*.bundle”」,按键盘的「Enter」键,更改档案的权限。
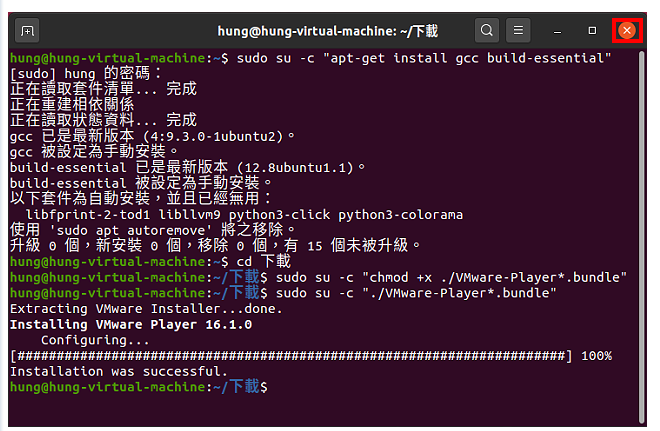
10.输入「sudo su -c “./VMware-Player*.bundle”」,按键盘的「Enter」键,执行安装程式。
11.装完成,关闭终端机。
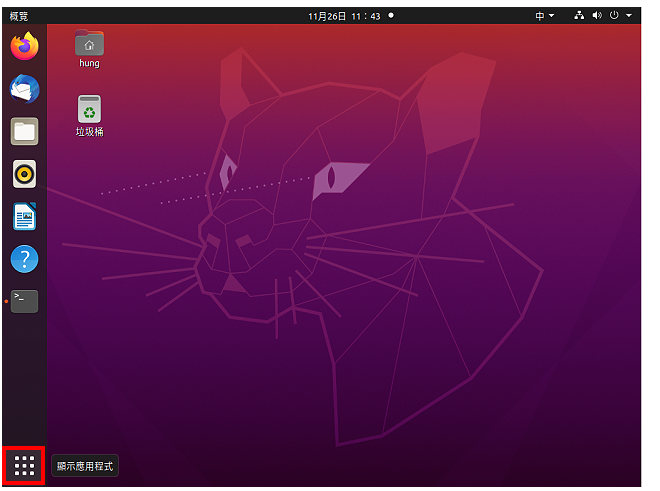
12.点选「显示应用程式」。
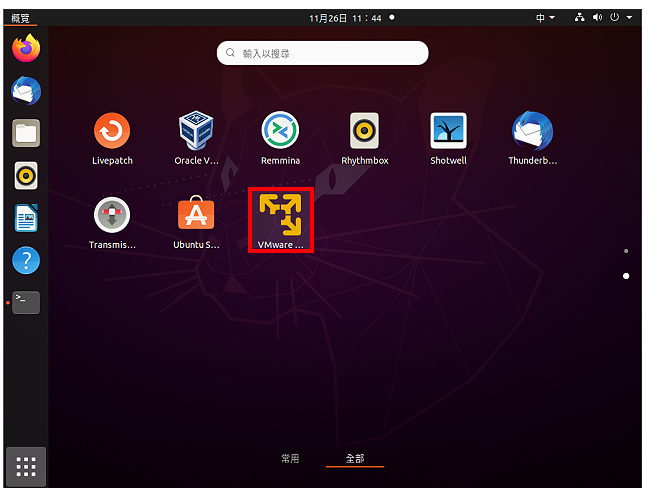
13.点选「VMware…」的捷径图示。
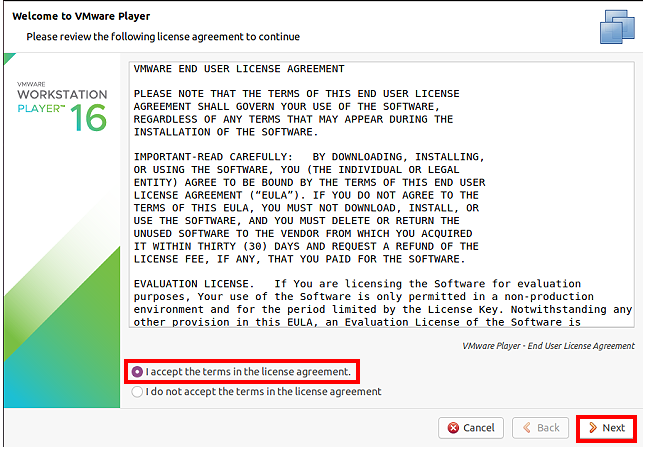
14.选择「I accept the terms in the License Agreement」,点选「Next」。
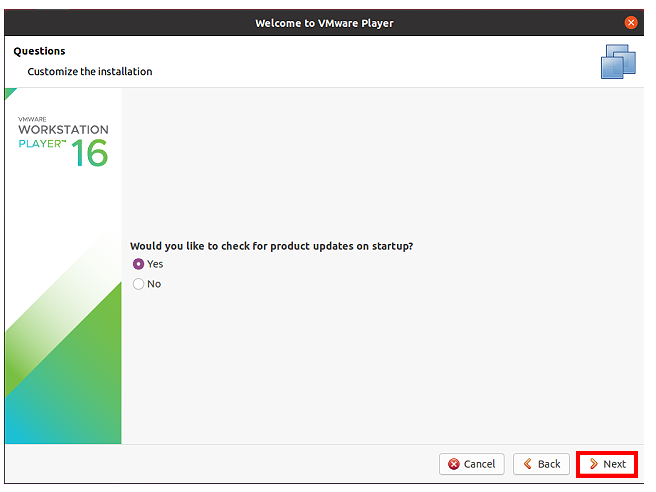
15.使用预设的选项,检查是否有升级版本,点选「Next」。
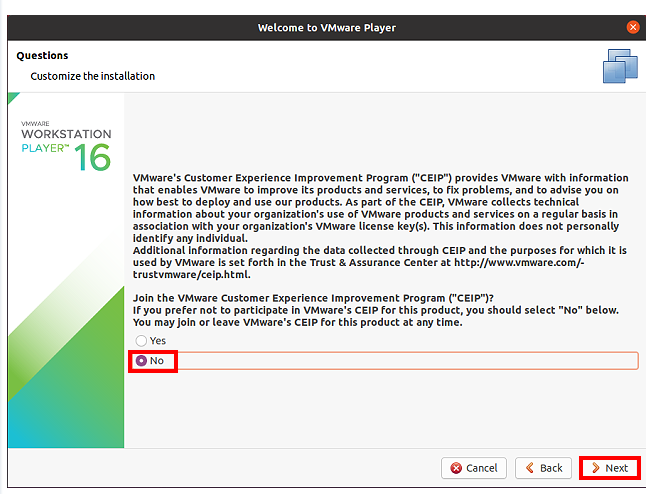
16.选择「No」,不传送使用者经验分享,点选「Next」。
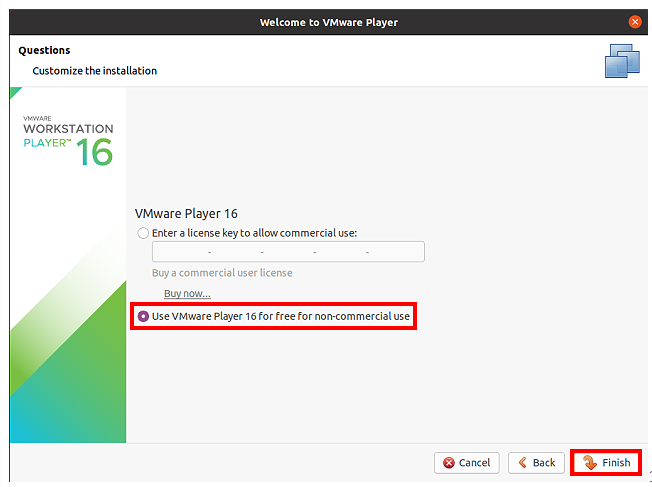
17.选择「Use VMware Player 16 for free for non-commercial use」,点选「Finish」。
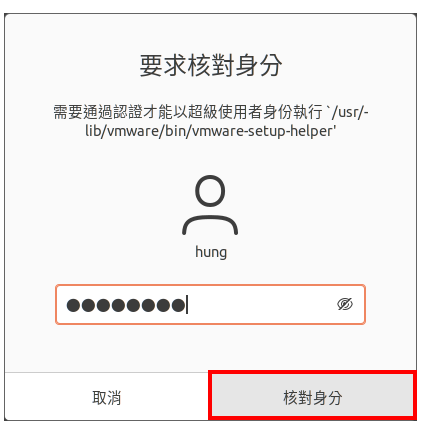
18.输入电子邮件,点选「OK」,使用免费版本。
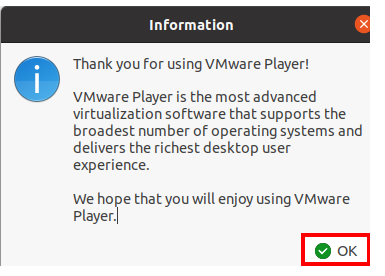
19.点选「OK」。
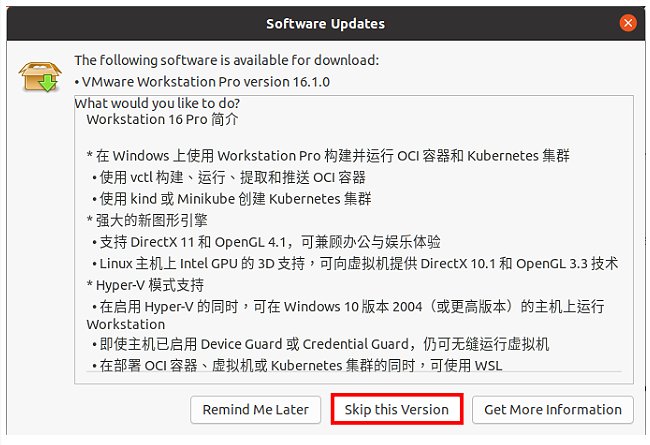
20.点选「Skip this Version」,不要升级到Pro版。
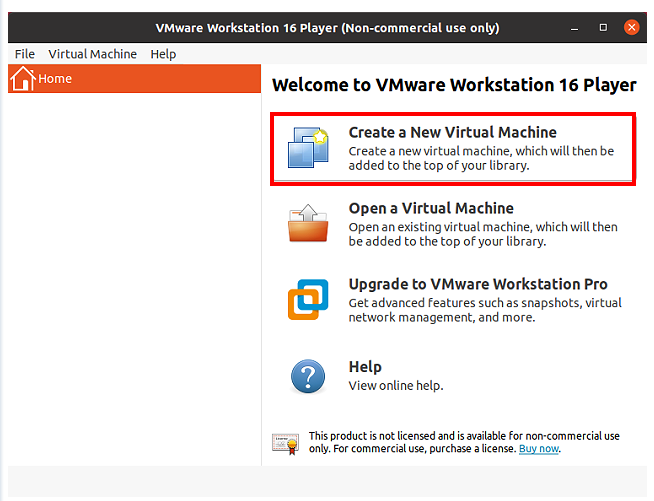
21.VMware Workstation Player开启的视窗如图示,点选「Create a New Virtual Machine」,可以建立虚拟机器,并在虚拟机器上安装作业系统。


评论前必须登录!
注册